Practical Shaders: Wind-blown Leaves
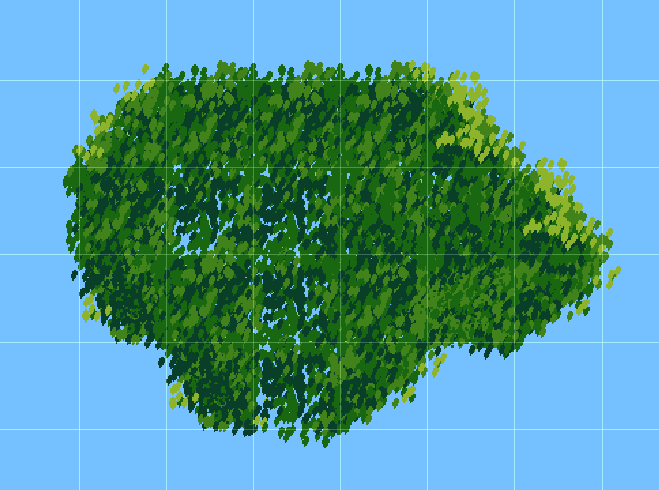
In this post, we’ll write a fragment shader to animate leaves in Unity. I’m assuming familiarity with light vector math.
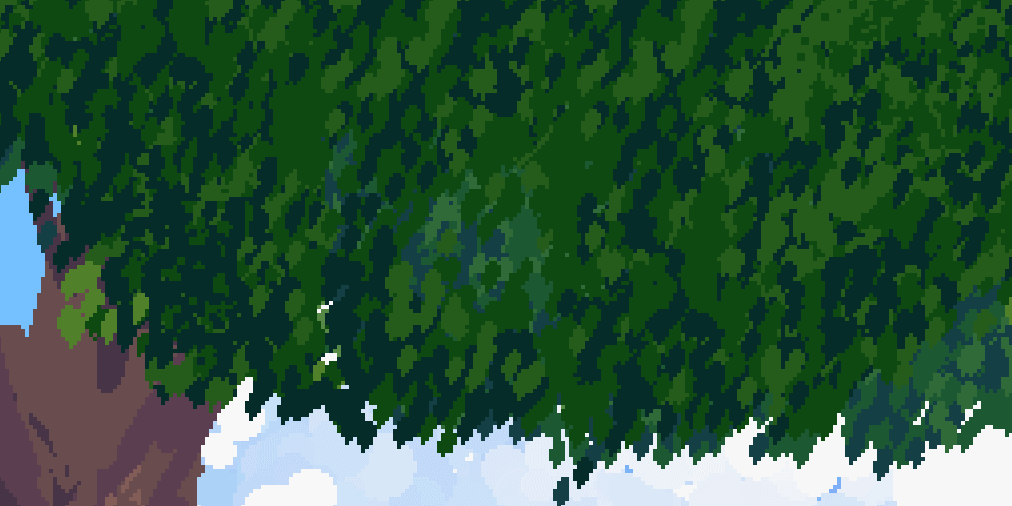
First, get your base textures. The tree in the gif is actually a tilemap composed of leaf tiles like these.
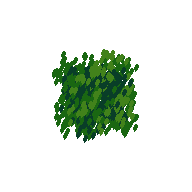
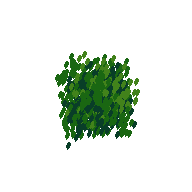
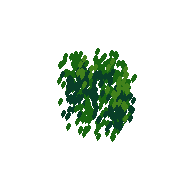
Then load them into the world. You can use a default SpriteRenderer if your leaves are one image, and tilemaps will be fine too.
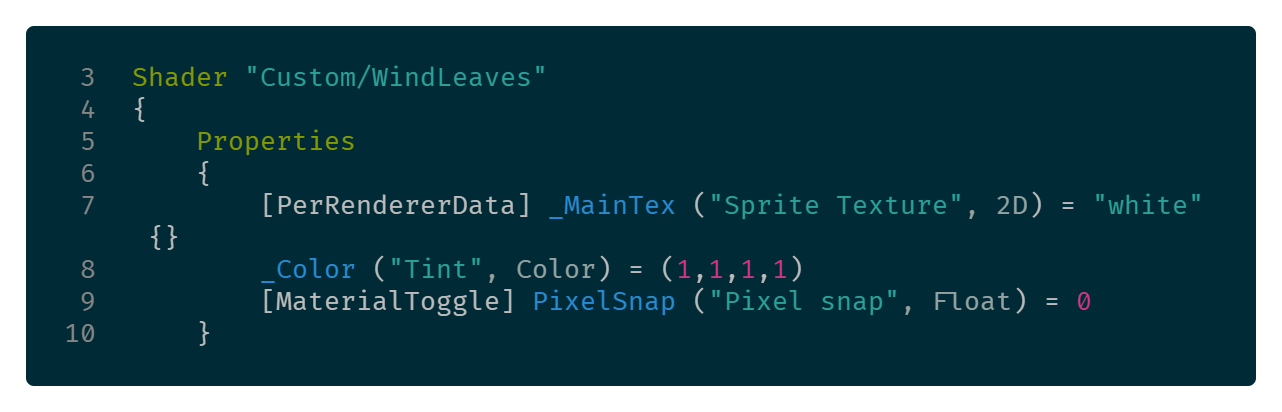
Copy the Unity Sprites/Default shader and rename it to Custom/Windleaves, then save it as WindLeaves.shader. Then make a material to to apply the shader to.
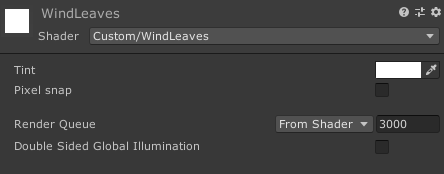
Putting the material on your sprite or tilemap should result in no change. Now let’s add the normal map distortion to the shader.
What’s a normal map
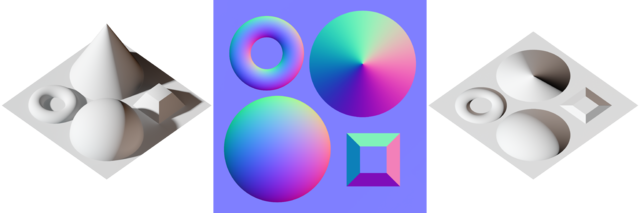
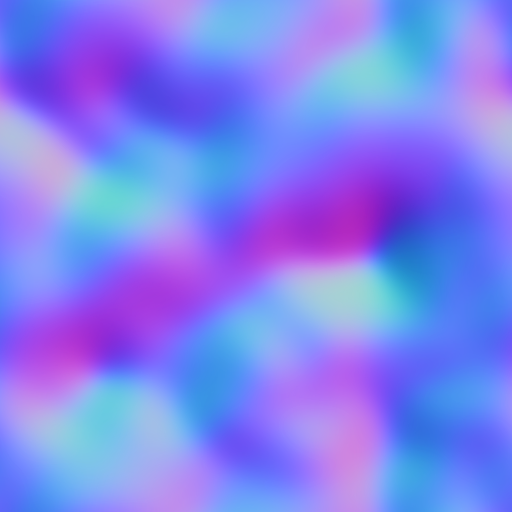
Normal maps are images, mostly used in 3D graphics to make flat textures look like they stand out. Each pixel’s red, green, and blue values are numbers that make the X, Y and Z components of a 3D vector. I’m using the below image for mine.
Code time
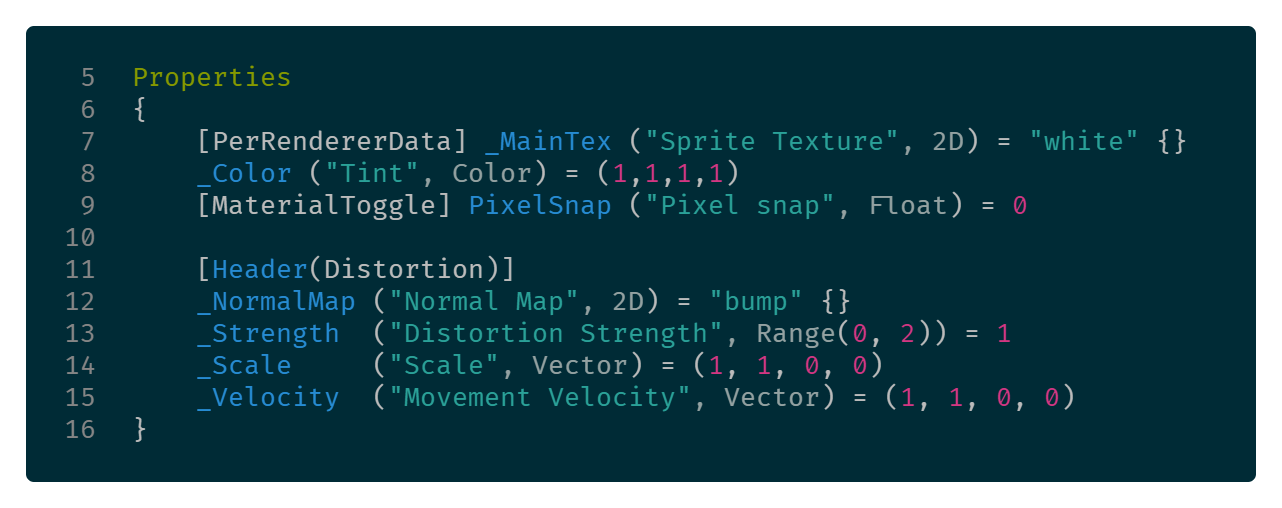
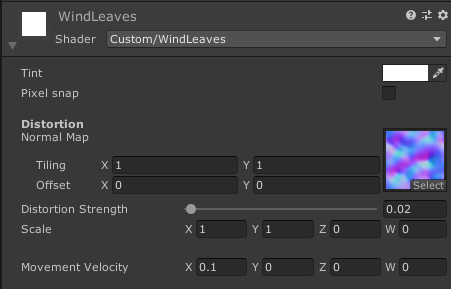
Add fields in the shader headers for the normal map properties. We’ll probably be tweaking these values in-game until they look good.
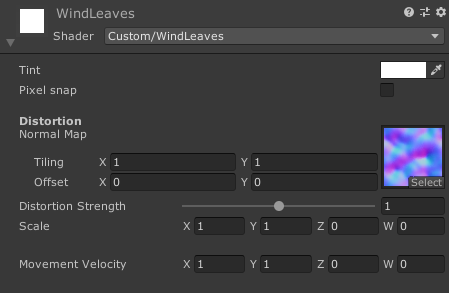
The new field for the normal map is exposed in the material, so we can add it.

Now that we’ve got the normal map exposed up top, we need to read it in the shader. When we add them here above the frag function, Unity will recognize that those names correspond to the top-level properties we just defined and pass them through, as long as the data types align.
- sampler2D: a 2D image
- float: number
- float4: a 4-dimensional vector
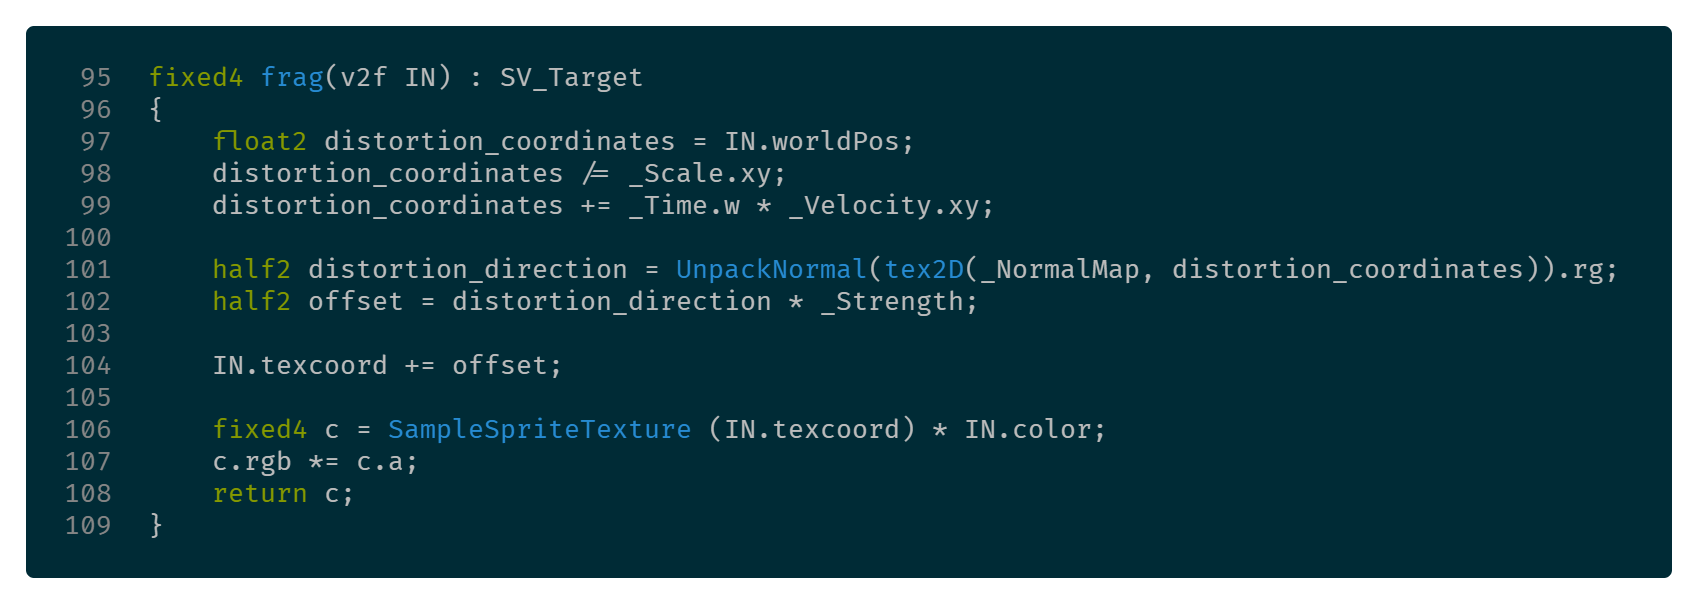
Next step: Add the distortion from the normal map inside the shader code.
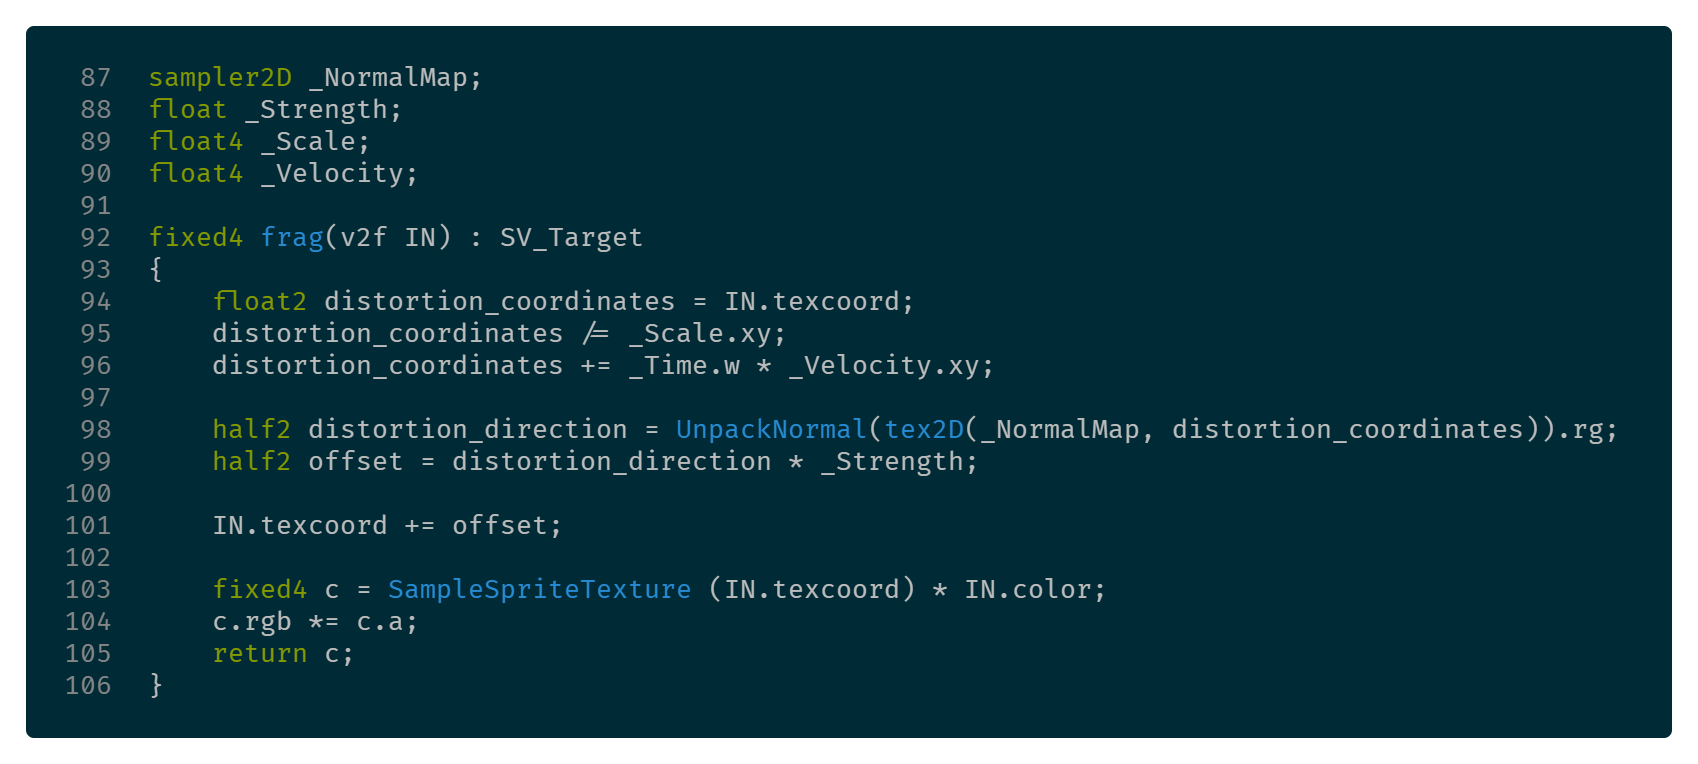
The shader takes the 2D vector, IN.texcoord, and looks up that point on the main texture, the leaves. We’re altering that vector based on the normal map, so we change which point on the leaf texture the current coordinates point to.
Let’s see what that looks like in-engine.
Hmm. Not great. Let’s move sliders until it looks less insane.
That’s a bit better. Notice how you can still see the grid pattern in the leaves, though. That’s because I’m using a tilemap here and the coordinate lookup for the distortion happens in texture space instead of world space.
Fortunately, changing the lookup coordinates of the distortion map to use world space isn’t too painful.
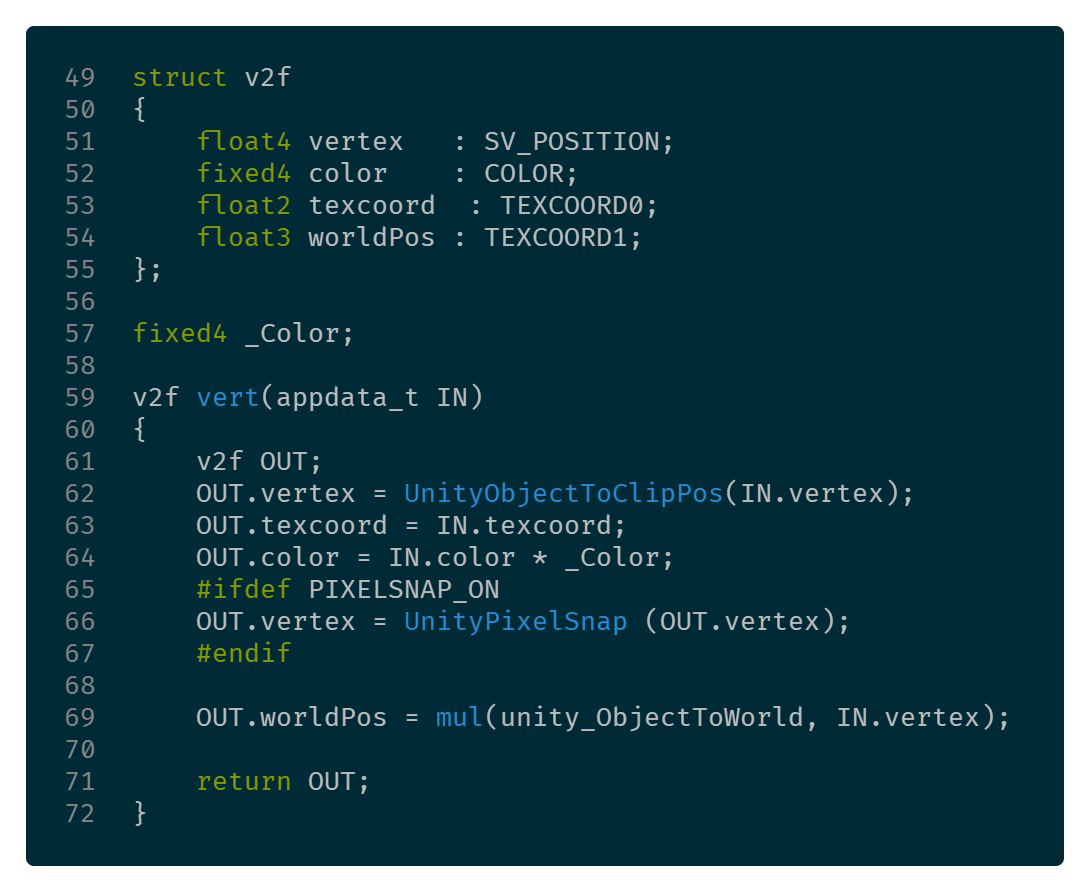
Add another float3 to the v2f struct to represent the pixel’s world position, and then a line in the vertex shader to translate its local position into world space.
unity_objectToWorld is a builtin 4×4 matrix.
Then, change distortion_coordinates to pick up the world space value insteaad of the normal texture coordinate value.
It’s a very subtle effect. Increasing the distortion value (compare with the first gif) highlights it.
We can get more fine-grained control over the normal map distortion by making sure the distortion lookup operates at the same scale as the leaf texture. Coordinates aren’t 1-256 for a 256 pixel wide texture; they’re always decimals from 0-1.
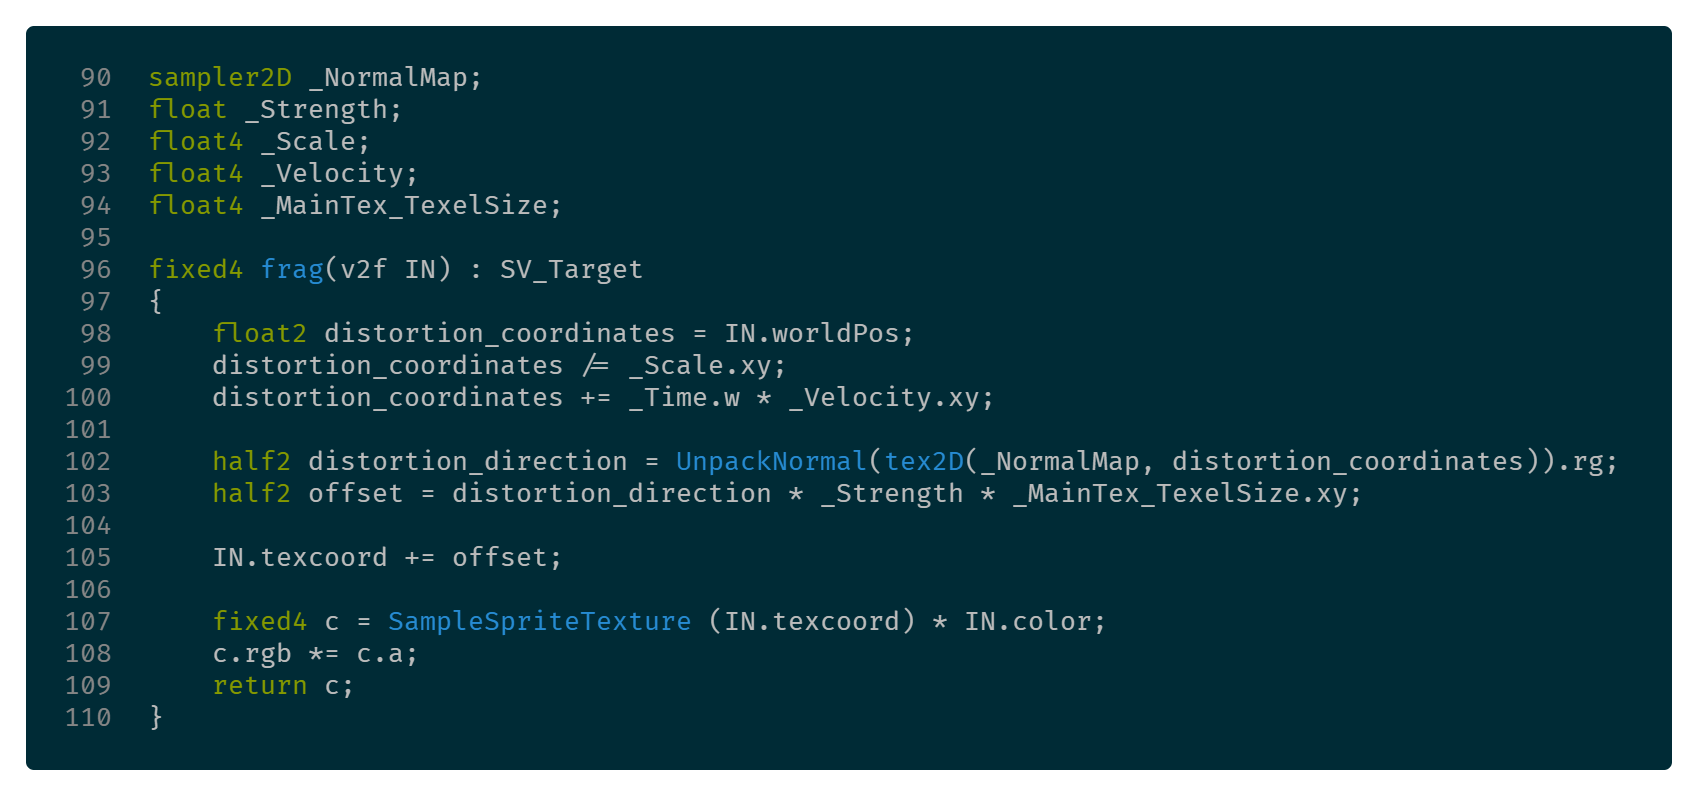
Adding a float4 called [TEXTURE_NAME]_TexelSize will make Unity automatically populate that value. Declare it along with everything else so we can use it on line 103.

Now we’ve got much more delicate control over the distortion value, and it looks a bit more realistic.
What else can we do?
The leaves still look a bit like a sail rippling in the wind. If only there were a way to make the separate colored clusters move individually…
One way to do this is to change the strength of the distortion based on each pixel’s green value.
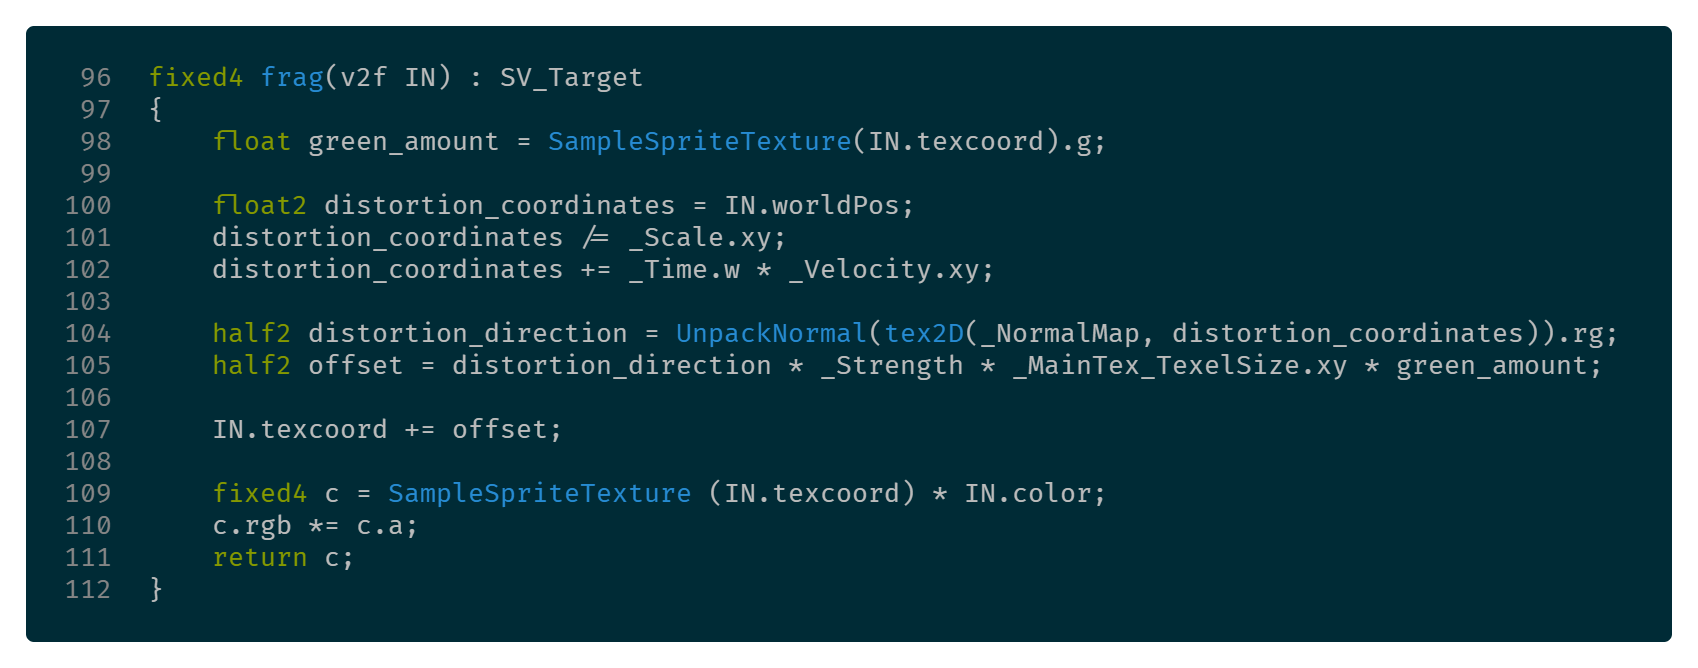
Do a pre-lookup on the first line and grab its green value, then combine it with the strengthening on line 105.
Looks much better.
Thanks for reading. You can find the source code for the shader here.